______________________________
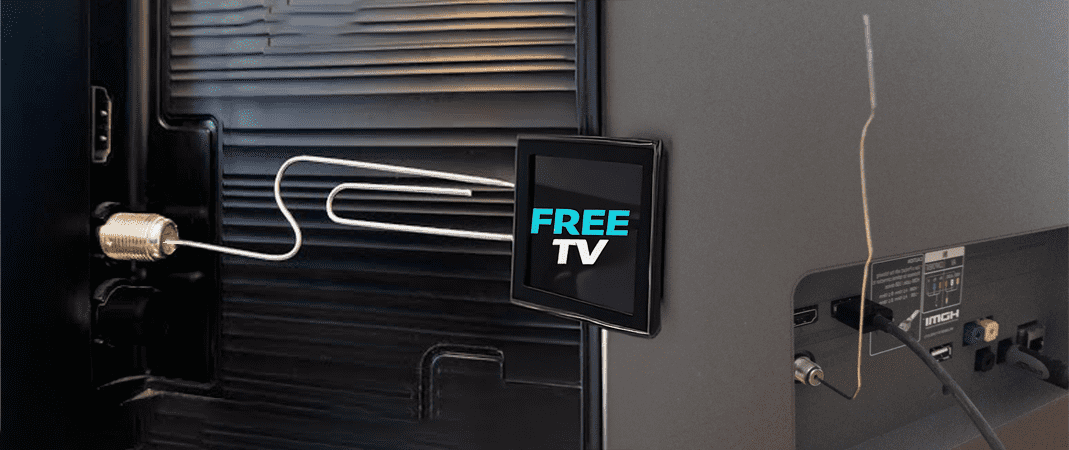
Have you ever had a frustrating moment when your TV or radio signal was weak or non-existent? Well, guess what? A simple paperclip can actually work as a makeshift antenna in a pinch! Whether you’re trying to improve your TV reception or just want to experiment with DIY electronics, this guide will show you how to make an antenna using a humble paperclip.
Here’s what you’ll need To Make Your Paperclip Antenna:
- A large metal paperclip (preferably not coated with plastic)
- A pair of pliers (optional, but helpful for bending)
- Coaxial cable or a radio/TV with an antenna port
- Electrical tape (optional, for securing connections)
Now, Let’s Get Started:
Step 1: Straighten the Paperclip
Unfold the paperclip so that it forms a straight wire. You can use your hands or pliers to get a neat, straight shape. A straighter wire helps in achieving better signal reception.
Step 2: Shape the Paperclip
If you’re using it for a TV, bend the paperclip into an “L” or “V” shape. This shape allows the paperclip to act as a basic dipole antenna. If you’re using it for a radio, you can leave it straight or create a loop, depending on the device’s antenna requirements.
Step 3: Connect to the Device
For TVs with a coaxial port: Insert one end of the paperclip directly into the coaxial input. Make sure it’s snug and secure. You may need to use electrical tape to hold it in place.
For radios or older TVs: Look for an antenna connection or a port labeled “ANT.” Insert the paperclip into this port.
Step 4: Adjust and Test
Turn on your device and tune to a weak channel or station. Adjust the position and angle of the paperclip for the best reception. You may need to move the device or the paperclip antenna to a higher position, near a window, or away from obstructions like walls.
Now, Let’s Talk About Why This Works:
A paperclip acts like a conductor, capturing radio frequency (RF) signals from the air. It’s basically a basic monopole or dipole antenna. While it won’t give you the same quality as a professionally designed antenna, it’s often enough to boost your local signals.
Here are some tips to make the most of your paperclip antenna:
* Length matters: The longer the wire, the better it can pick up lower frequencies.
* Positioning is key: Experiment with different angles and positions to find the sweet spot for signal clarity.
* Add a wire: If a single paperclip isn’t enough, attach an additional wire or another paperclip to extend its length.
Enjoy Superior Quality and Faster Access with Over-the-Air Signals
Another benefit of using an over-the-air (OTA) antenna, even a DIY one like this, is the superior quality of the audio and video. Unlike cable, optical, or streaming services, OTA signals are uncompressed, resulting in a clearer and more vibrant viewing experience. This is particularly noticeable when watching live events, such as football games, where every detail matters. Additionally, OTA signals have no delay, meaning you'll get scores and plays faster than those relying on streaming services or cable. Whether you're tuning in for your favorite TV shows or catching the big game, a paperclip antenna offers an immediate and high-quality solution.
But When Should You Upgrade?
If you’re frequently experiencing poor reception, it might be time to invest in a high-quality indoor or outdoor antenna for reliable performance.
With just a paperclip and a little creativity, you’ll be amazed at how much you can improve your signal. Whether you’re tackling weak TV channels or boosting your radio, this quick fix can save the day. Plus, it’s a fun and simple project for anyone interested in the basics of signal reception!
Areas Served | Industry Specific Website Design | Privacy Policy | ADA Compliance
Copyright © 1999 - 2025 AldoMedia, LLC. All Rights Reserved.
